My Dried Flower Experiment
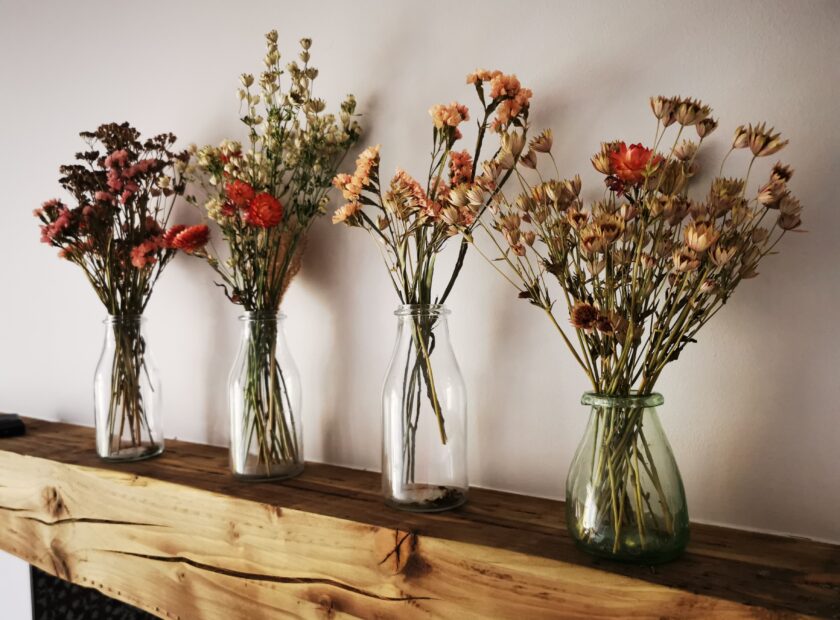
When summer fades into Autumn, I find that there’s something quite lovely about bringing a little lasting reminder of summer indoors. Dried flowers afford that reminder. And with their softly faded hues, they offer a beautifully autumnal twist too.Dried flowers are no longer seen as a fusty relic of trends gone by. They are now hugely popular, which is in part thanks to their climate friendly credentials.
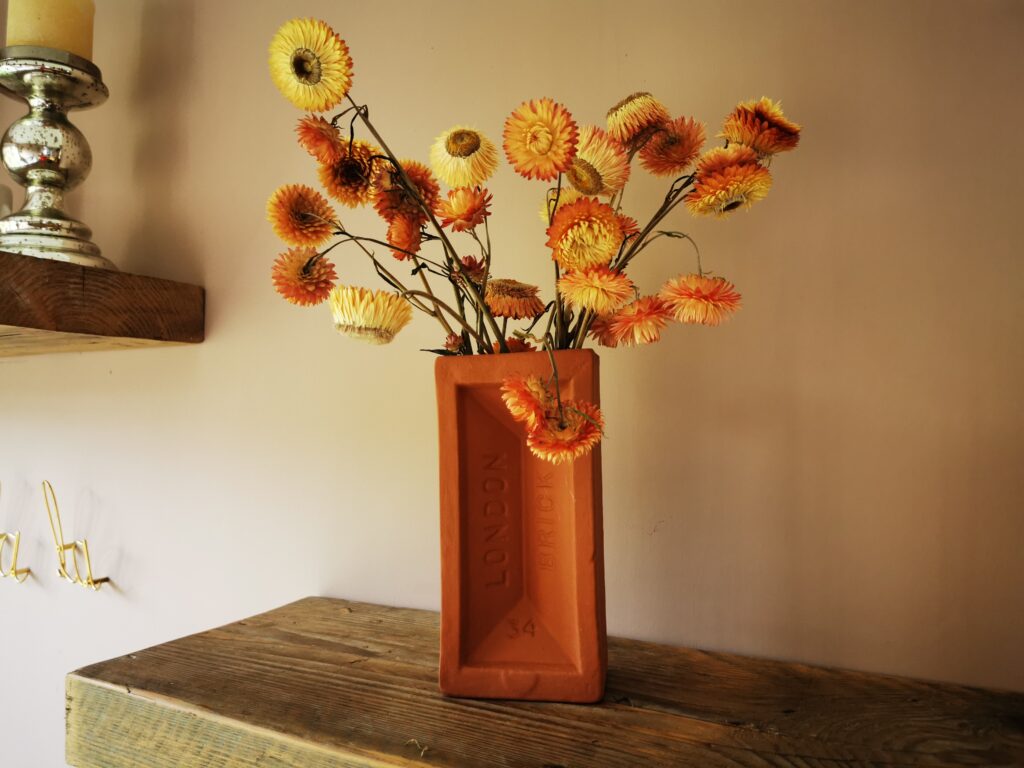
A more climate friendly option?
Out of season, florists need to source fresh flowers in from all around the world, racking up quite a hefty carbon footprint. Dried flowers, on the other hand, can be grown locally in summer and dried for use in winter, reducing the need for long distance travel.
It’s also worth considering that dried flowers last much longer. So if you like to display flowers all year round, they reduce your need to replace them so regularly. Dyed dried flowers can come under scrutiny if they are dyed using harmful chemicals. Personally, I prefer the natural shades that come through when flowers are left as they are. To me the subtle variations in natural colour are much more appealing than flat artificial colours.
Grow your own
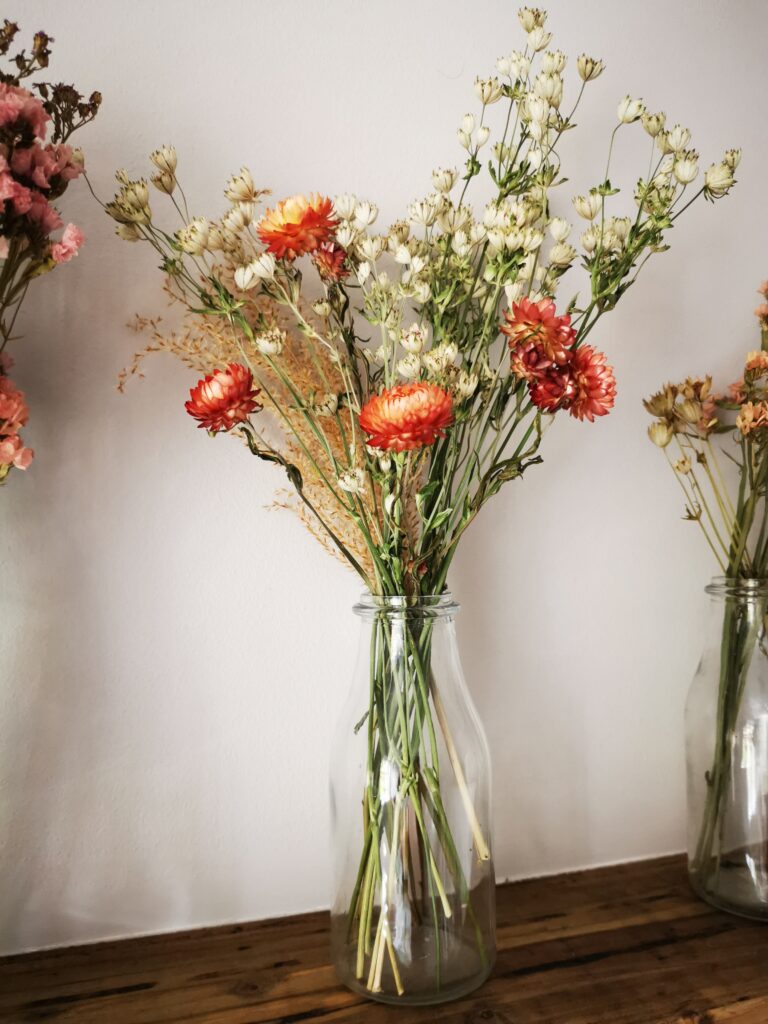
With all of that in mind, the case for dried flowers is quite alluring- and so last spring I decided to try growing and drying my own. Here’s an account of what I grew, and what I learned along the way.
What I grew
1.Helichrysum bracteatum (Strawflower) ‘salmon rose’.
Top tip: Cut them before the flowers open.
I was drawn by their deep peach and coral tones. I simply hung these upside down in a dark, dry place for a matter of weeks and they were ready to go. Through trial and error I found that if I cut them after the flowers were already open, they weren’t as attractive. They looked much better if I cut them just as the buds were starting to open. I plan to try more of these next year in more colours.

2. Limonium sinatum (Statice) ‘apricot’.
Top tip: Cut flowers regularly to keep them coming.The harvest from these was hugely abundant. I couldn’t cut them fast enough all summer long and I was impressed in the variations in colour. Lemon, through to peach, pink and lilac.
Top tip: Experiment with drying whatever you have in your garden.
I had no idea that I could dry astrantia until my mum told me, so I took advantage of the plants I already had in my garden. These dried perfectly, with minimal effort.
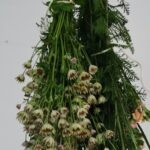
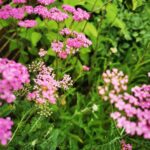
4. Achillea millefolium ‘Cerise Queen’
Top tip: Avoid hanging drying flowers in humid/damp rooms.I hung my achillea in my basement, rather than up in the airing cupboard. This didn’t make such a huge difference to some of my other dried flowers, but for some reason these ones had mould on them and they didn’t hold their colour very well. My mum dried the yellow variety in her house and they were utterly gorgeous, so I will be trying them next year (and not in my basement!).
Feeling inspired?
In a nutshell you simply hang cut flowers upside down in small bunches for 2-4 weeks. Keep them out of direct sunlight in a warm, dry, well-ventilated room.
In theory most flowers can be dried, but some are trickier and need different techniques, so do your research first. But then again, I personally love the adventure of trial and error.
Looking ahead to 2022
I found the process of cutting and arranging the flowers so satisfying and I’m proud of the result. I’m looking forward to trying some more new varieties. For next year I have my eye on Craspedia globosa, Lagurus ovatus, a variety of other straw flower colours, and simply hanging up all sorts of things from my garden to see what happens!
If you’d like to read my previous blog on fresh cut flowers, visit here.
|