How to check if your bike’s safe

During lockdown, you might have dusted off your bike to get that essential exercise in. In this blog, Cycling volunteer Gary takes us through his tops tips on keeping your bike safe.
There’s never been a better time to dust off your bike…
In the current climate taking exercise has never been more important to us, both to our physical and mental well-being. Cycling is an excellent way to get into the fresh air and keep fit.
If like many people currently, you find yourself with time on your hands, you might want to dust off that bicycle at the back of the shed or garage.
If you want to check your bike’s in working order, here are a few tips to cover the basics.
Clean your bike
Firstly, give your bike a good wash. There’s no need for specialist cleaners – just good old warm water & soap will do. Use a brush on parts that are extra dirty. If you do have a degreaser, use that on the gears and chain, and give them an extra clean with an old toothbrush.
Oil the chain
Leave your bike to dry thoroughly, and then oil the chain. Use a bicycle oil if you have one, available online if you can’t get one from the shops currently. (Don’t put too much oil on your chain, or it will attract dirt.)
Check your bike
1. Brakes
Push the bike forwards with the front brake on (usually the one on the right) and push backwards with the back brake on – the bike shouldn’t move.
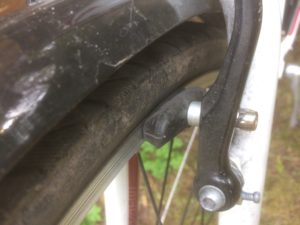
Check that your brake pads are not clogged with dirt and that the brake pads (the parts that actually touch the wheel rim) are not too worn down (if they are, you will need to replace them).
Your brake pads should clamp onto the rim when applied and not the tyre. If need be, you can adjust the alignment of the brake pads using an Allen key.

Check that the brake levers don’t touch the handlebar grips when you apply the brakes.
2. Wheels and tyres
Check that the wheels spin freely and that they aren’t rubbing on the brake pads. If they are, you will need to adjust the brake pads (see the video link at the bottom for how to do this).
Squeeze the spokes together one pair at a time to check that none of them are loose.
Check if your tyres are fully inflated. If your bike has not been used for some time, flat tyres are not necessarily the sign of a puncture – tyres will always lose air over time. If in doubt, pump them up and leave them overnight – if they are flat again already, or keep needing to be pumped up over a number of days, you have a puncture. If so, you will need a puncture repair kit (or a replacement inner tube). Watch this video to learn how to fix a puncture.
If you have a pump with a gauge on it, use this to make sure your tyres are inflated to the correct pressure (which is written on the sidewall of your tyres). If you don’t have a pump with a gauge on it, pump up the tyres until you can sit on your bike without the tyres looking flat.
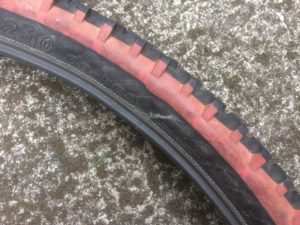
Have a look to check that your tyres aren’t cracked or worn through. If they are, you will need to replace them.

Check that your wheels are secure and the quick releases (if you have them) are fully closed.
3. Handlebars
Facing the bike seat, and gripping the front wheels held between your legs, try turning the handlebars. Make sure they don’t turn without the wheel turning in the same direction. If need be, tighten the nut in the middle of the handlebars using an Allen key until the handlebars are tight.
4. Frame
Check that there are no cracks in the frame of your bike. If you find any cracks, get them checked by a bike shop.
5. Pedals
Check that your pedals turn freely and aren’t loose. Tighten them if need be, using a spanner.
6. Saddle
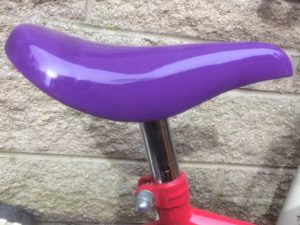
Check that your saddle isn’t loose – if it twists to the side, tighten the nut or quick release on the seat post. Make sure that your quick release (if you have one) is closed.
Check your seat height. It should allow you to sit on it with just the balls of your feet on the floor on both sides at the same time. Use the quick release lever or a spanner underneath the seat to adjust the height if necessary. (Make sure that you can’t see the minimum insertion point on the seat post – if you can see that, your saddle is too high and needs to be lowered.)

You can see a video on how to do these checks and adjustments here.
Your bike is now good to go. Have fun!
|